Before getting re-upholstered, the frame of this wing chair needed to be repaired, and the base polished.
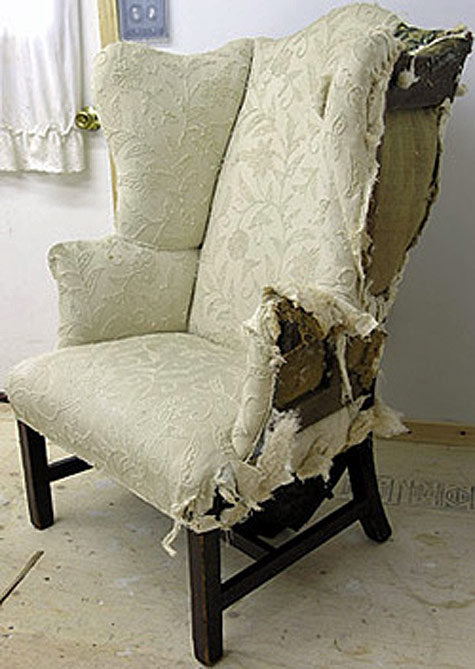
To begin, I removed the upholstery and all the tacks.
The frame had a lot of old repairs which consisted of metal brackets.
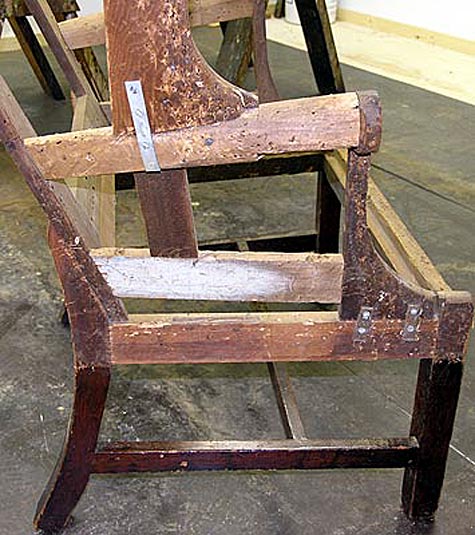
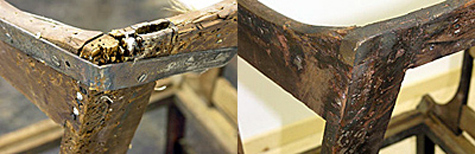
I removed all the brackets and repaired the loose and broken joints with dowels and glue. Here’s a before and after photo.
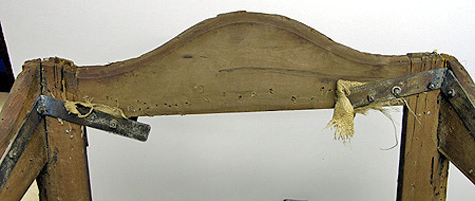
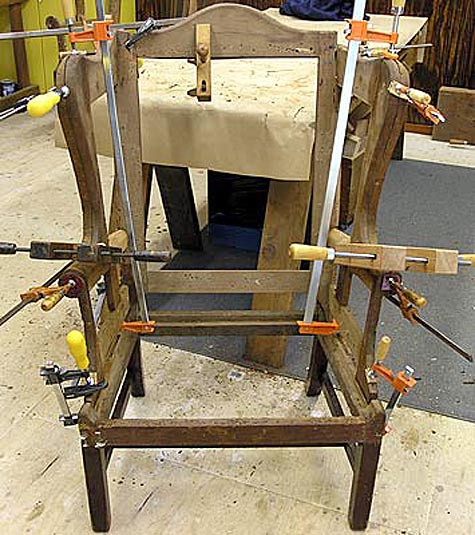
After the worst sections were repaired, the chair was glued and clamped tight.
To get ready for the upholsterer, the tack holes were filled with sawdust and glue.
Next, the base was cleaned, touched up, and polished.
The chair was then sent out to the upholsterer who did an excellent job.
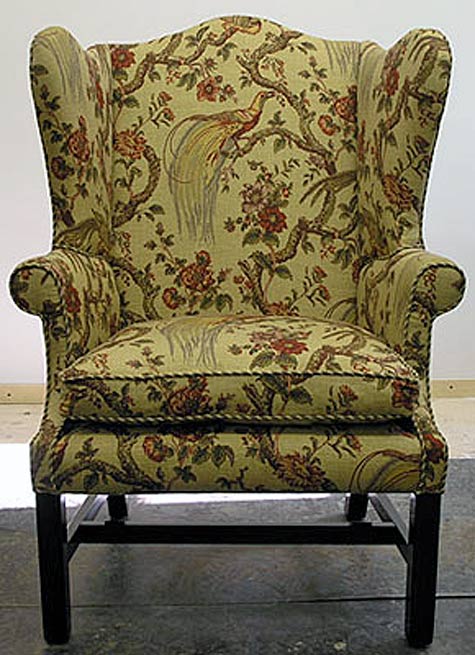
This wing chair was repaired for a Pawling NY client.