Do you have a wood repair project that involves filling holes or cracks?
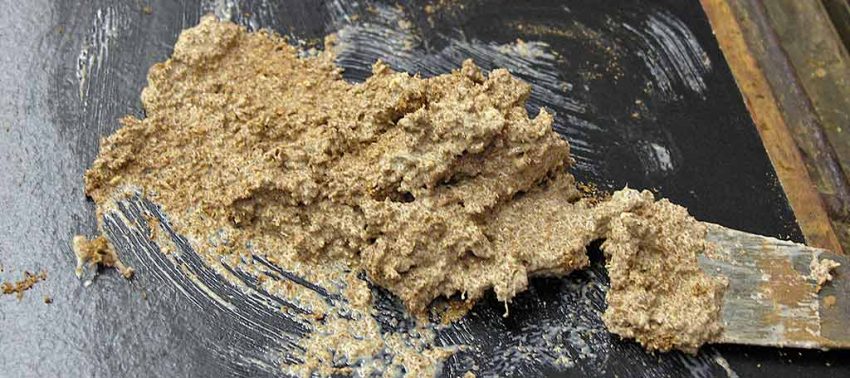
On this page I’ll explain how I mix and apply a wood filler using sawdust and glue when repairing furniture. It’s quick, simple, inexpensive, and rewarding to know you can repair wood with a “like material”.
Please note, this filler is not recommended for structural repairs.
Project
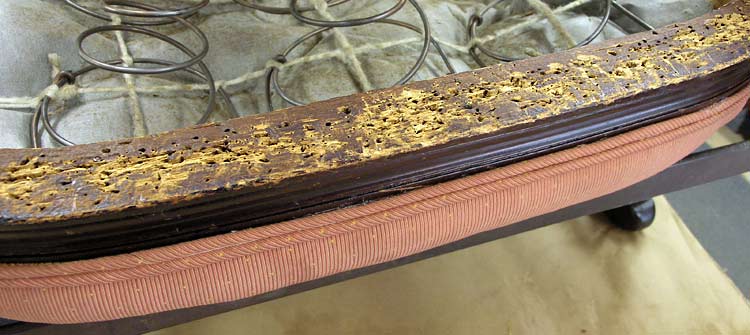
Shown below is an example of where I often use sawdust and glue as a filler. This is the bottom of an upholstered chair that has been chewed up from the upholstery tacks. To make sure the new tacks will hold properly, I’ll fill the holes with a homemade wood putty mixed from sawdust and glue.
Materials
- Sawdust
- Wood Glue
- Putty Knife
- File (rasp)
- Sandpaper
Just about any wood glue will work to make this filler. Wood glue, hide glue, and even epoxy glue. However, some epoxy glues dry quick.
As for sawdust, my preference is the fine saw dust you get from sanding, rather than wood shavings which don’t mix well. I get my sawdust from underneath the band saw.
Mixture
I start by pouring glue into a small pile of sawdust and mix the two together with the putty knife. There’s no particular ratio or formula. It’s just a matter of adding a little more of either material until I get a desired consistency.
A well-mixed slurry of sawdust and glue will be workable enough to hold some shape, but not runny. A dry mixture will not adhere correctly, and a runny mixture will shrink and need additional applications.

Application
As shown below, a thin layer of glue is applied to the surface just before using the filler. Doing this strengthens the damaged wood and helps the filler bond well.
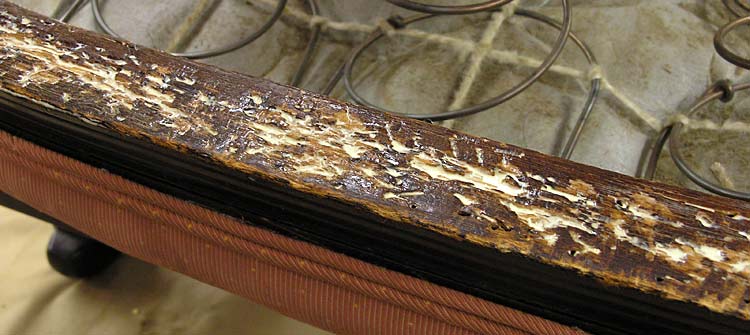
Using the putty knife, the filler is applied by repeatedly packing it into the damaged area. Then smoothed out as best as possible.
This type of filler shrinks as it dries, so I leave excess to compensate.
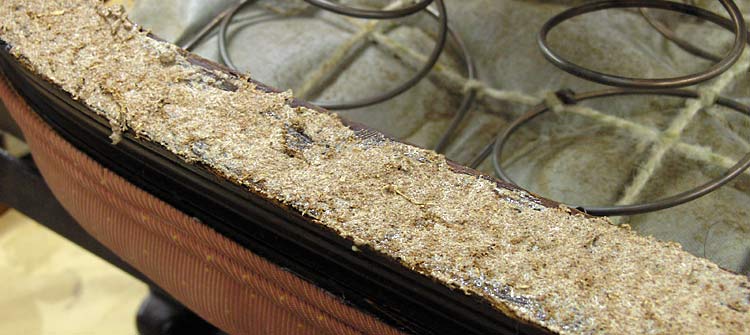
Surfacing
Dry time varies depending on which glue is used and the size of the repair. I usually let dry overnight before surfacing.
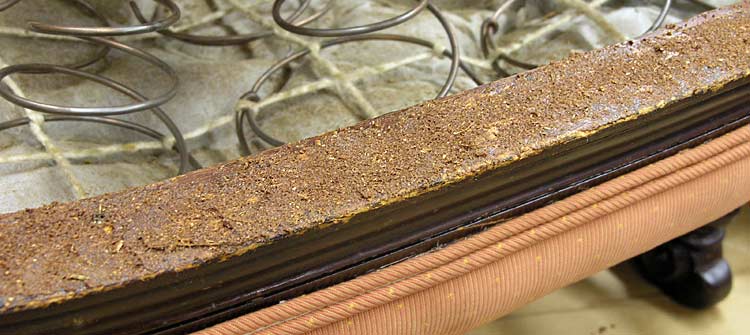
Once dry, the filler is very rough and sometimes jagged. Similar to the texture of tree bark. The majority of this coarseness is quickly taken off with the file. Then I use sandpaper to smooth and flush.
If I were repairing a different kind of surface, I might use a plane, or just sandpaper, and not a file.
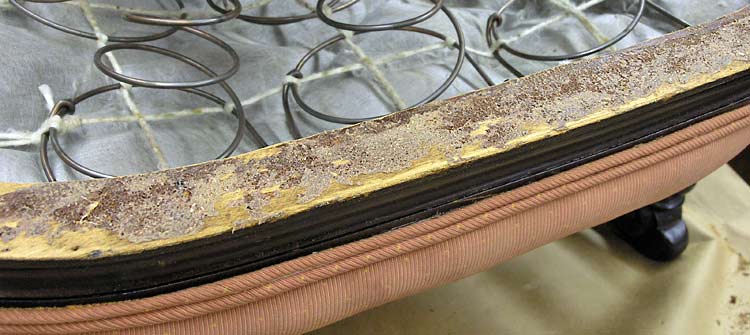
Depending on the project, the filler may need to be colored or touched up to help blend in. Since the chair rail on this project was going to be covered with upholstery, it was left as seen below.
Next
Try it out, you’ll find it’s great for all sorts of wood repairs.
