This upholstered chair had a broken back leg. It looked like someone had glued it before, but it didn’t hold. The leg was broken where the dowels connect it to the stretchers. Just gluing it back together again was not going to hold.
To avoid future problems, I decided to replace the leg. Here’s what was done.
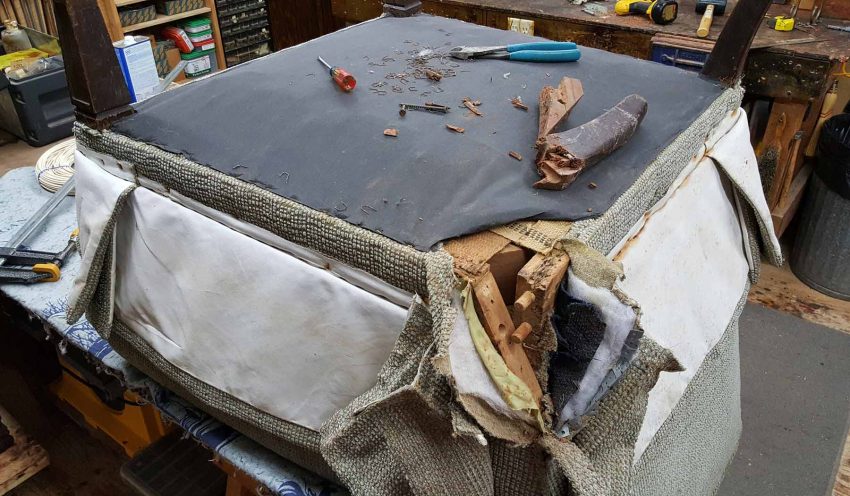
First, the chair was set upside down on the workbench. Then the staples were removed so the fabric could be pulled away from the leg.
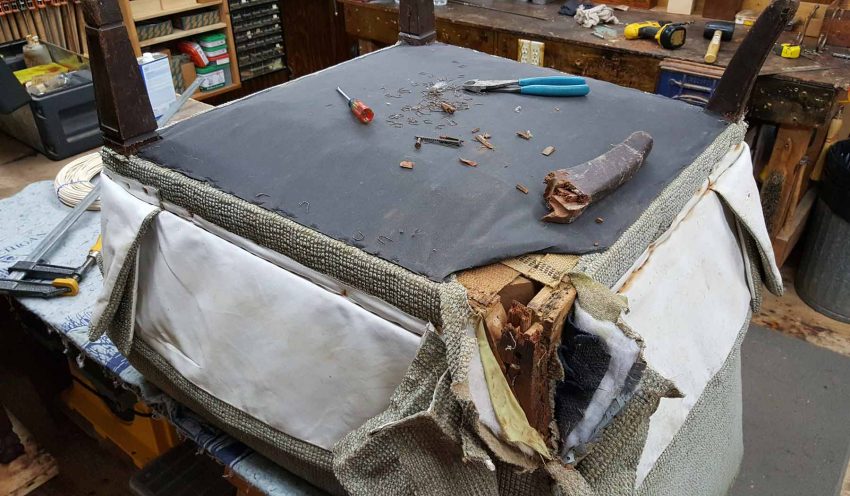
Next, all the pieces to the leg were removed and the old glue was scraped from the connecting area.
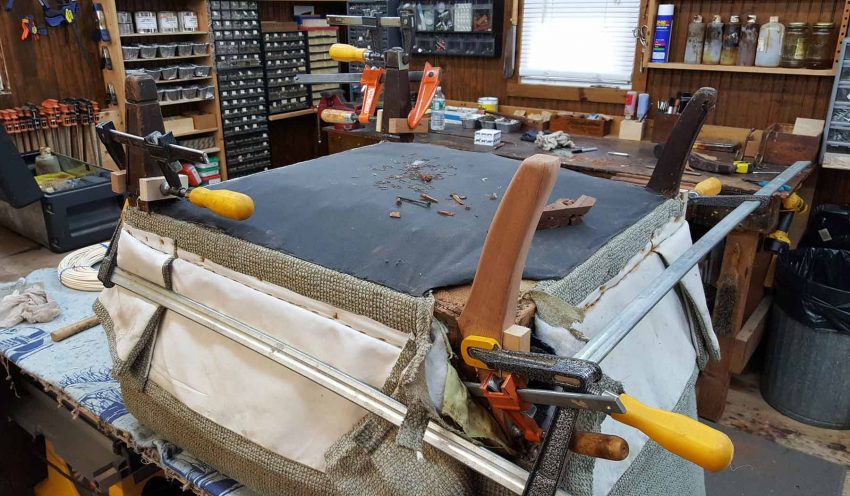
A new leg was made out of mahogany, fitted, glued, and clamped tight.
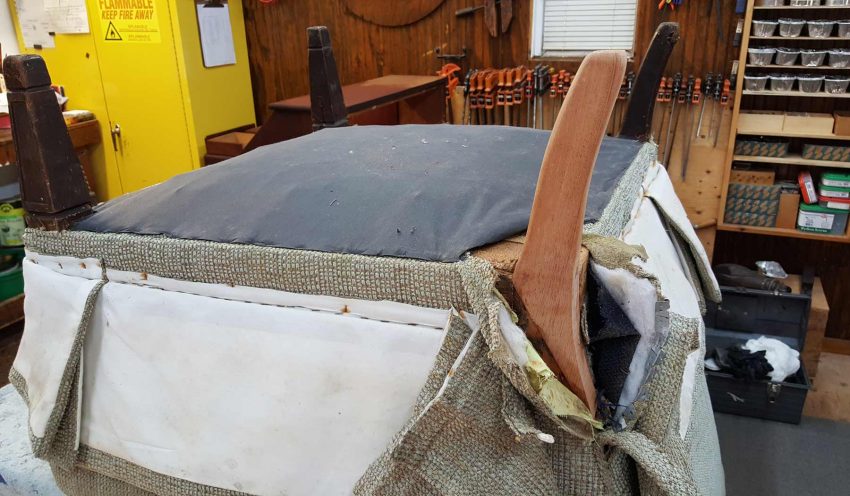
Once the clamps were removed, one last dowel was inserted to secure the leg to the side stretcher. It was then ready for finish.
The new leg was stained and finished to match, and then all the legs were given a quick polish. The fabric was stapled back into place, and new glides were installed.

This chair was repaired for a Pine Plains NY client.