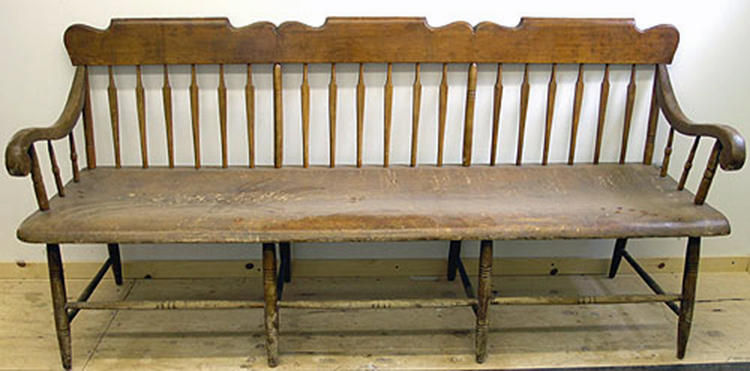
This 19th century arrowback bench had been stored in the client’s barn for several years. It was in need of re-gluing and refinishing.
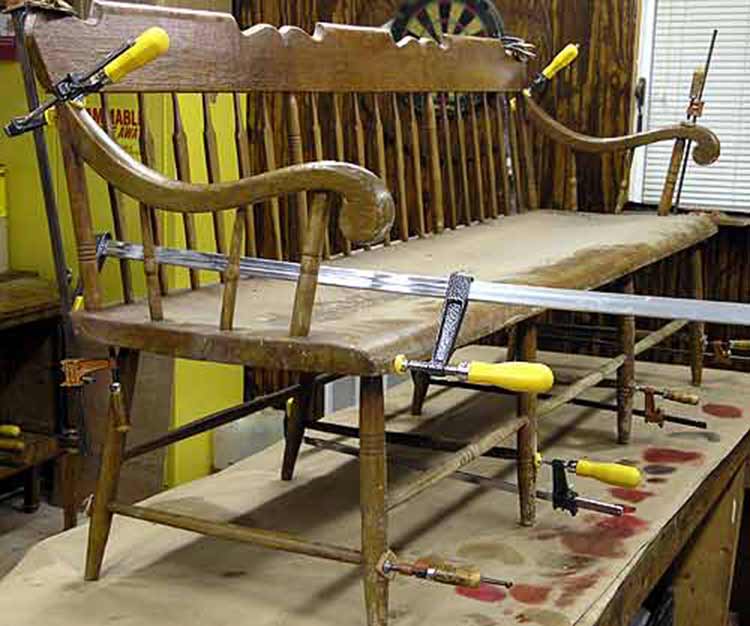
To begin the project, I injected the loose joints with glue and clamped them tight overnight. Then shimmed and glued a crack in the seat.
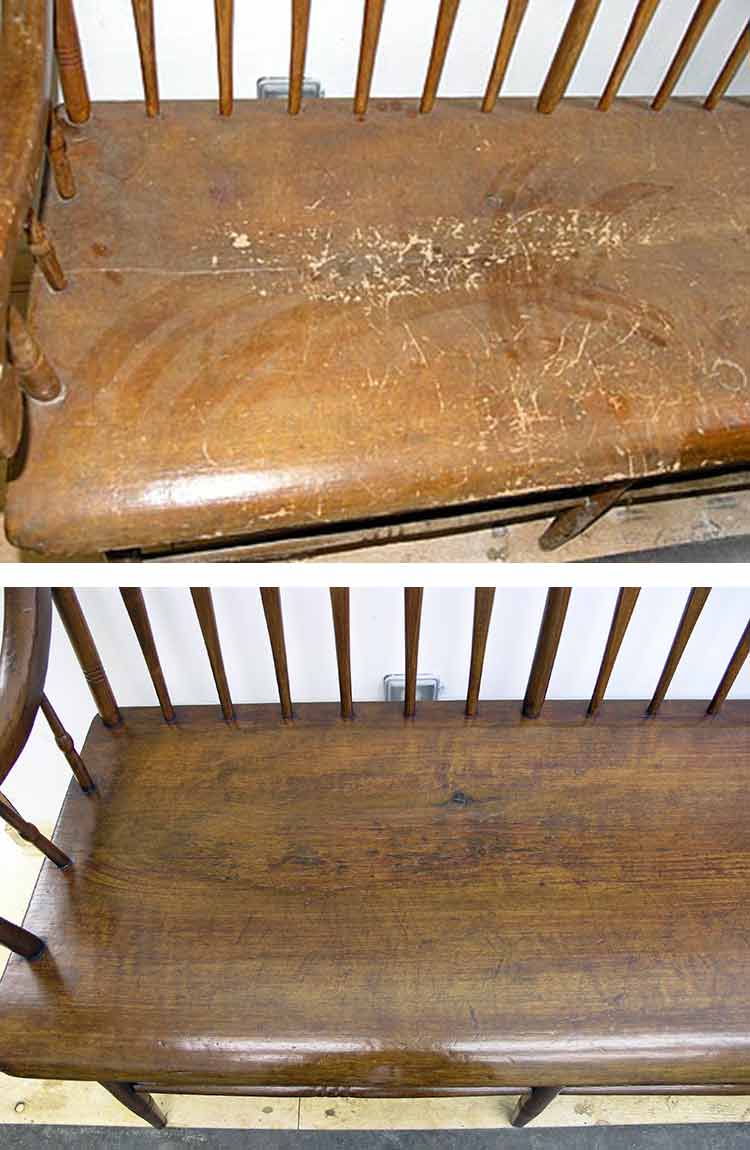
Next, the overly worn finish was stripped, and the bench was sanded, stained, sealed with 3 coats of varnish, and waxed.
Here’s the seat before and after refinishing.
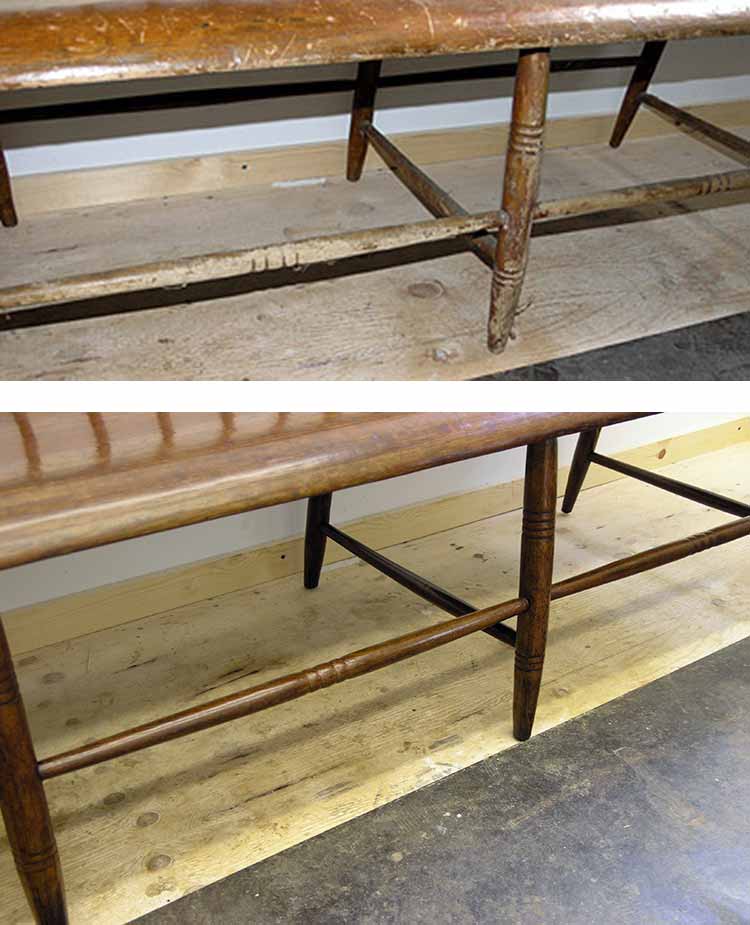
The legs and stretchers before and after.
The refinished arrow shaped spindles.
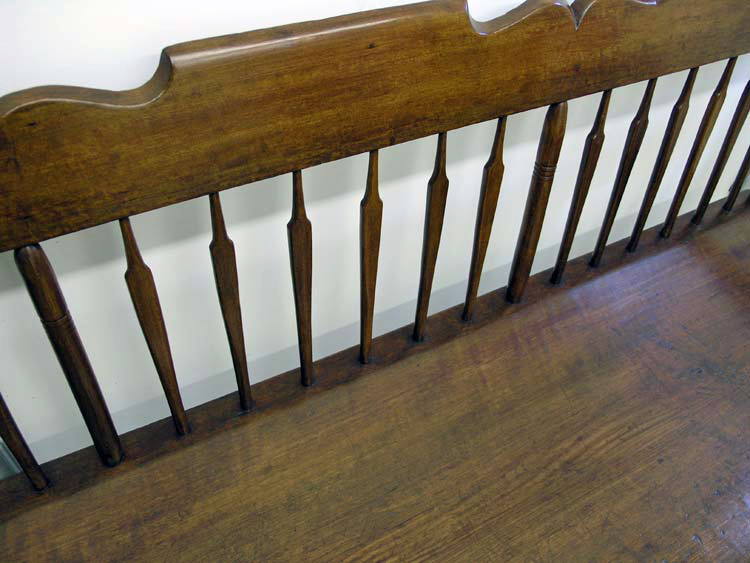
There are a lot of parts that make up this bench, and everything matched up nicely once completed.
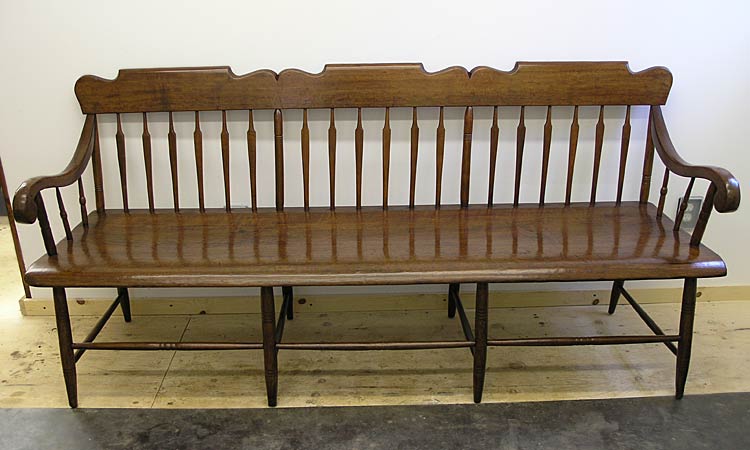
This antique bench was refinished for a Norfolk CT client.