Restoration for this antique card table included repairs to the legs, veneer, and molding. The existing finish was also reconditioned.
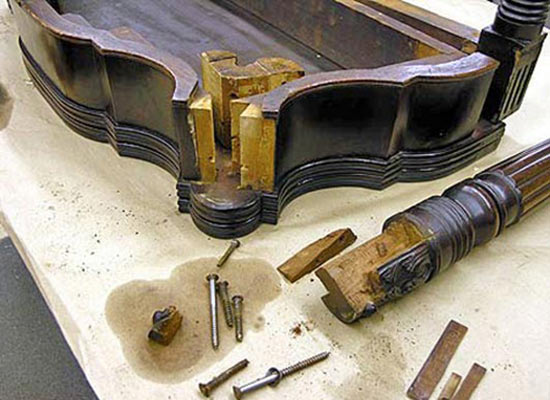
Once in the shop and placed on the workbench, the underside of this table revealed previous attempts to tighten the legs. They looked to have consisted of inserting one screw after another. Unfortunately repairing furniture like this usually doesn’t hold long term.
Below is the front leg and corner block removed so I could scrape off the old glue. There were 6 screws (not original) in this one leg.
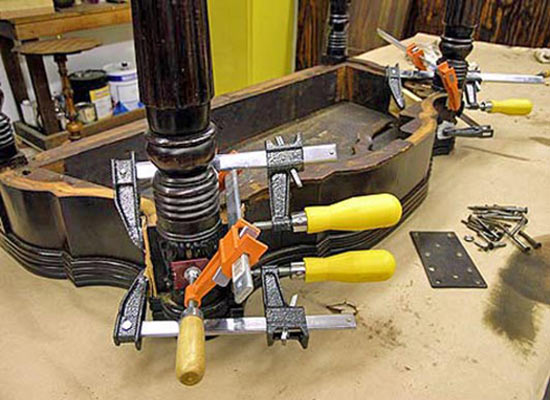
Here are the legs glued and clamped tight, along with a pile of unnecessary screws and a metal plate.
Other repairs to this table involved adjusting the back swing leg, and replacing missing pieces of veneer and molding on the front apron.
Once the repairs were complete the existing finish was reconditioned.

This process began with cleaning and lightly scuffing the old finish. Thin coats of shellac were then applied, along with touch up to the repaired areas. Once dry, everything was rubbed and waxed.
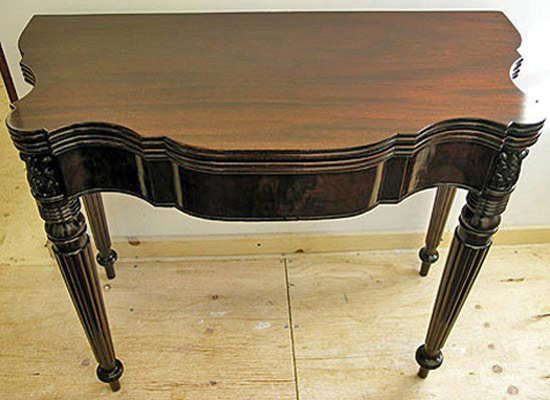
This early 19th century card table was repaired for a Dover Plains NY client.