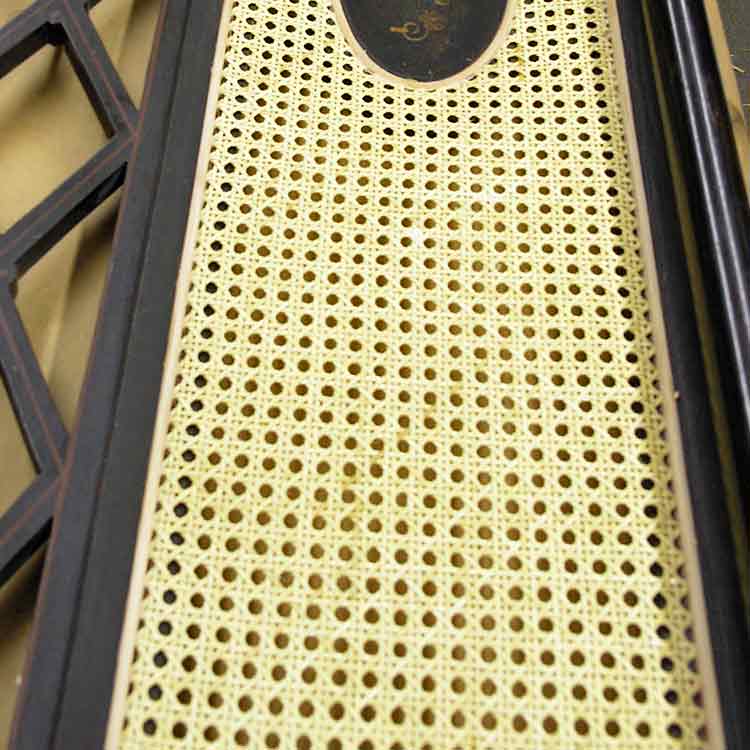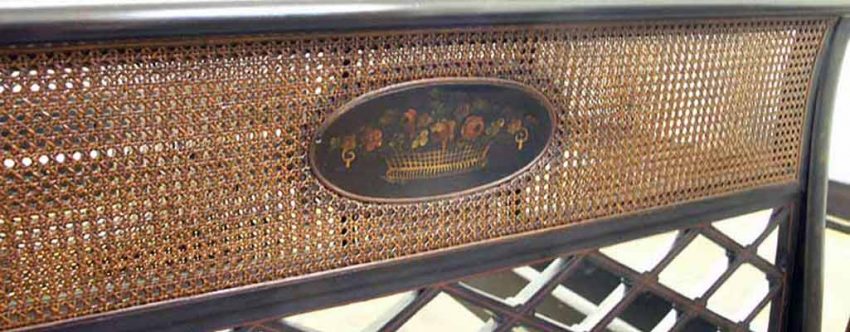
Whether it’s a cane seat or larger cane panel like the one seen above, learning how to replace cane webbing can be a rewarding do it yourself project.
On this page you’ll find a basic overview of the 7 steps I use to replace cane webbing.
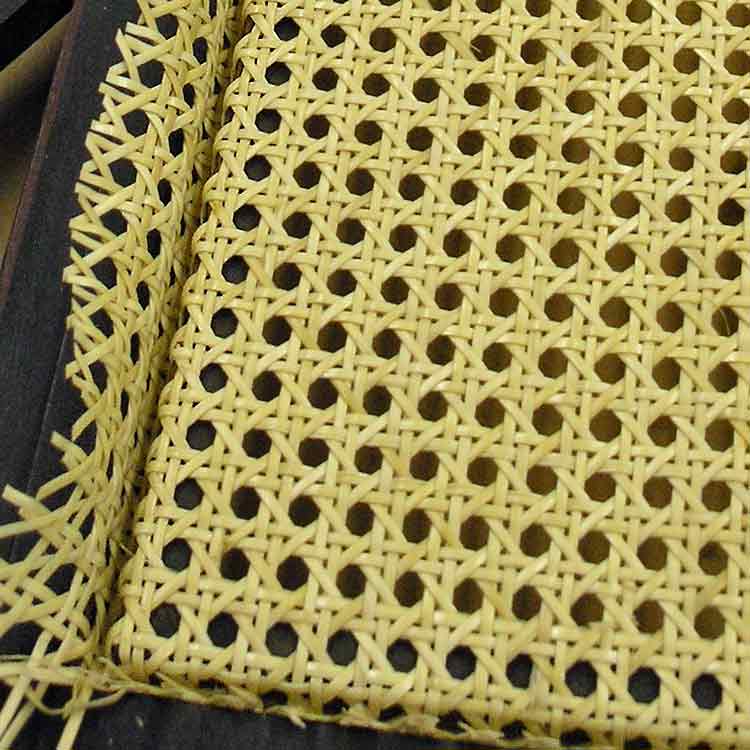
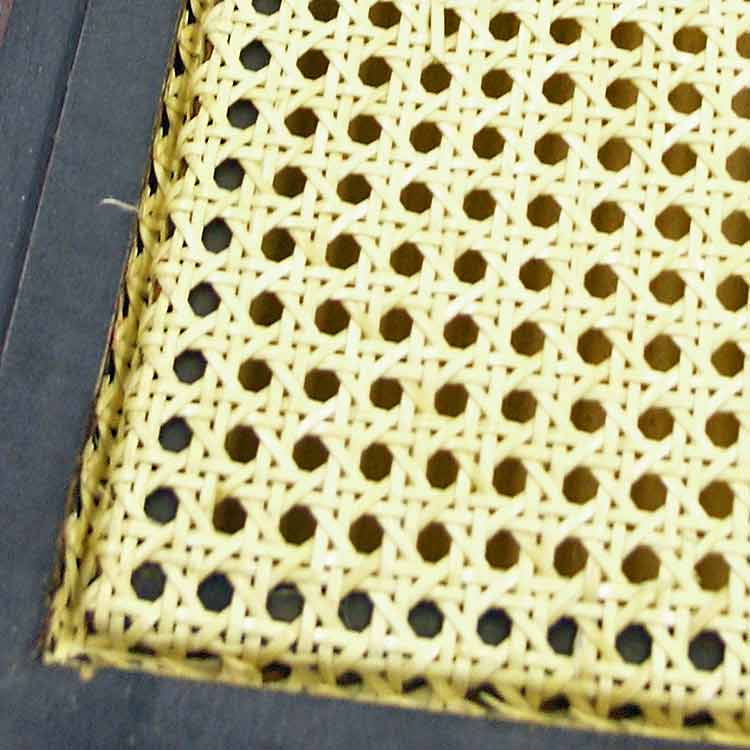
For those not familiar, cane webbing is a pre-woven sheet of cane that is available in different sizes. It is easily identified on furniture by the spline around the edge. Cane webbing is also known as pressed cane, pre-woven cane, machine cane, and sheet cane.
1. Measure and Order Materials
I first measure the size of the holes in the existing cane so I can order a match.
As for the overall size, I add 2-4 inches to the area that needs to be replaced.
I also measure the width of the groove and order spline that is slightly smaller.
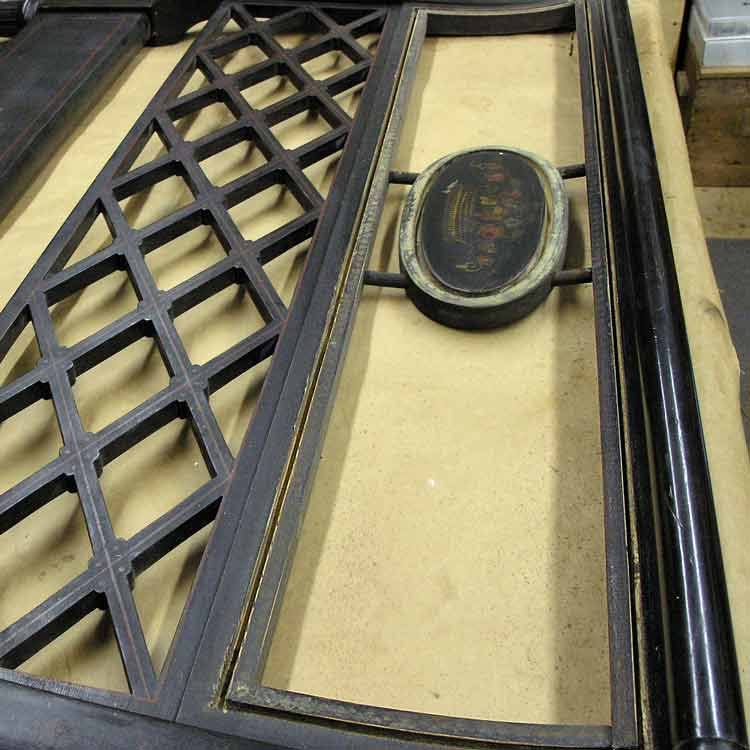
2. Remove the Old Cane and Spline
The majority of old cane is easily cut out with scissors or utility knife.
However, removing the old spline from the groove usually takes some time. This I do by prying out as much as possible with a narrow chisel.
3. Sand the Groove and Edges
I make sure all the old material is removed from the groove by scraping with the chisel and then sanding with 80 grit sandpaper.
Any sharp edges that the new cane webbing might rub against also get sanded.
4. Soak the New Cane and Spline
To make the new cane webbing and spline more pliable, I soak them in hot water for 30 – 45 minutes. This allows the material to be bent and fitted with less risk of breakage during installation.
While waiting for the material to soak, I get together the following items:
- Hammer
- Chisel
- Caning wedge
- Wood glue
5. Install the New Cane
Fresh out of the water, I lay the new cane webbing over the open area and align as needed.
While holding it in place, I gradually pressed the cane down into the groove with the caning wedge.
Once the cane is pressed into the groove all the way around, there will be excess sticking out.
6. Trim the Excess
Using a sharp chisel I trim the excess to just below the top of the outside edge.
In more detail, cane webbing is properly installed when it goes down into the groove, across the bottom and back up the other side of the groove. There it is trimmed to just below the edge.
7. Install the Spline
Before installing the spline, I apply a thin line of glue to run down each side of the groove. Please note that the groove does not need to be filled with glue.
With the tapered edge down, the spline is pressed into the groove and the ends are trimmed to fit tight.
The spline then gets seated further into the groove with a hammer and a narrow piece of wood. I prefer the top of the spline to end up flush, but sometimes that’s not possible.
The excess glue is then cleaned up with a damp cloth and the project is allowed to dry for at least 24 hours. After this time the new cane is nice and tight.
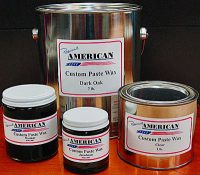
It can then be used as is, or stained and sealed to match if needed.