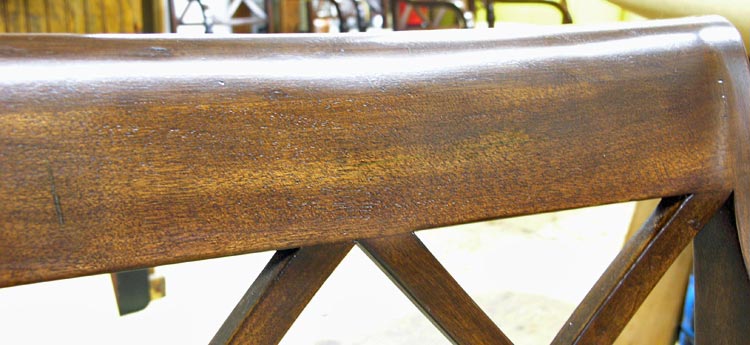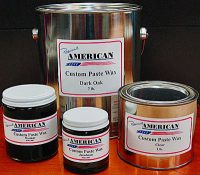
When repairing deep scratches in furniture there is first the decision of which material to use. Wax filler sticks and putty are the most common because anybody can use them. However you may have to compromise on their results.
This is because a repaired wood finish will only blend in best when you factor in color, body, texture, and sheen. For example you can have a nicely filled scratch with a good color match, but if the texture or sheen is off, the repair will still be noticeable.
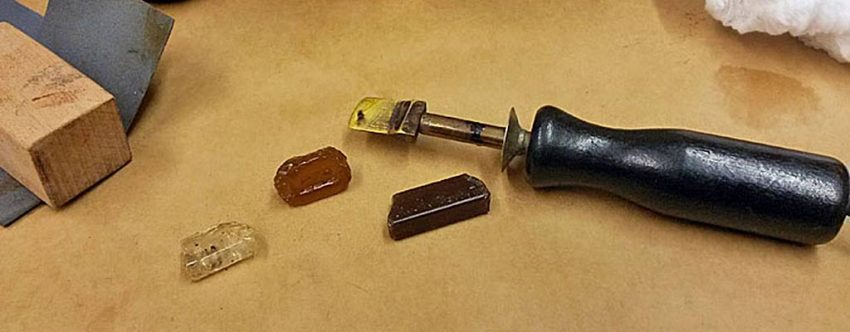
On this page I’ll show an option known by finishers and restorers as a burn in repair. The technique involves melting a shellac stick into the scratch with a burn in knife.
Burn in repairs are typically done on existing wood finishes and take experience. It is not something I recommend practicing on your good furniture.
Project
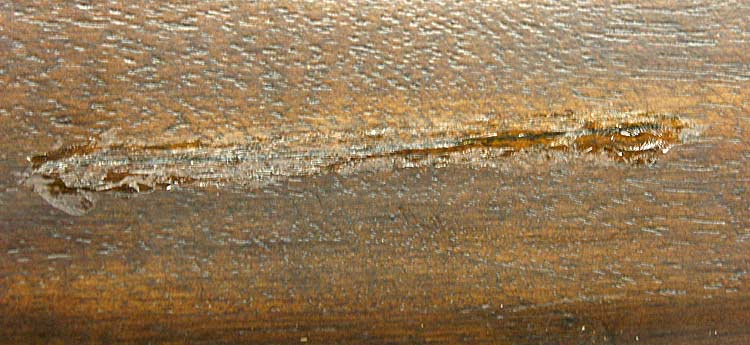
The scratch shown below is in the crest rail of a chair. It was an intentional “distress mark” put there by the manufacturer. The new owner of the chair was not happy with it and asked if I could fix it.
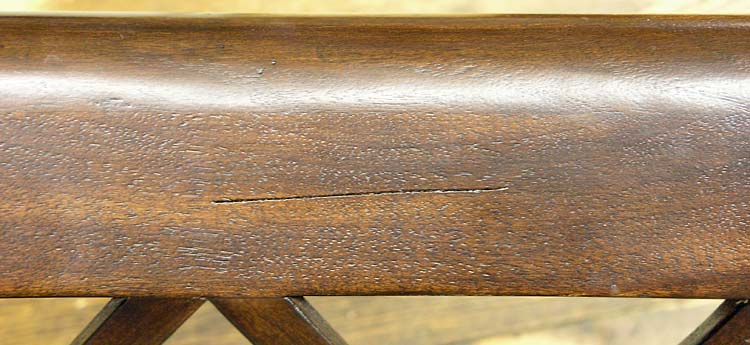
When considering how to make the repair, I first inspected the chair’s finish. The wood looked to be stained in a traditional mahogany color and finished with a semi-gloss lacquer. The scratch was in the same direction of the grain and the finish had some good body (thickness).
One option was to fill the scratch with putty and then touch up as best as possible. But from experience, I knew a burn in repair would look better.
Filling
With the burn in knife, I melted the shellac stick into the scratch and it quickly hardened.
The basic idea is to fill the scratch, but as little of the surrounding area as possible. Learning how to get a smooth fill quickly is important, because with every pass of the hot knife, the surrounding finish is at risk.
Sanding
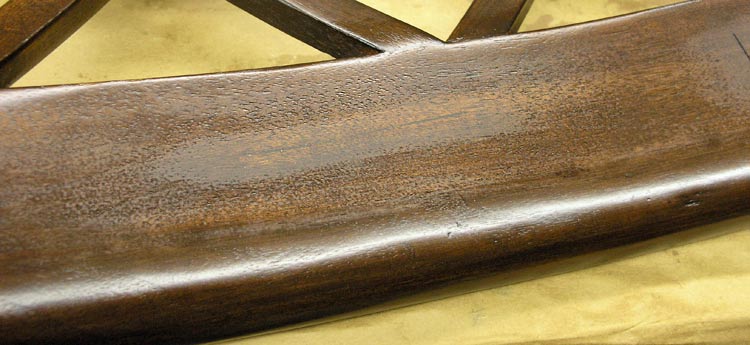
After the scratch was filled, the repair was sanded flush. This I did with 400 wet/dry paper while keeping the area wet with Rosini’s Rejuvenator. Sounds simple, but whenever sanding a finish, there’s always the risk of cutting through the finish and color. This has happened to me plenty of times in the past, and is part of learning how to do burn in repairs.
Knowing how thick a finish is and how much you can sand it before cutting through just comes with experience. Below you can see the repair has been sanded flush (without cutting through).
Polishing
This next photo shows the repair after polishing. By using the burn in technique there was minimal touch up that had to be done.
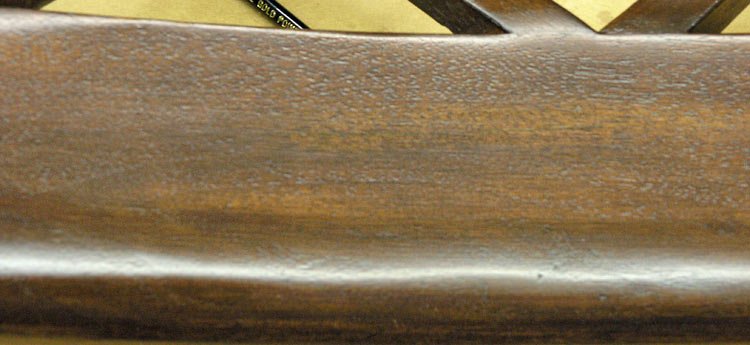
The completed project shows that the repair blended well in color, body, texture and sheen.
